Better way to install fittings on ¼ inch coax
Amateur operators who feed their signals through ¼ inch coaxial cable (such as RG-58/U and RG-59/U) may have shared the author's reservations about the accepted procedure for attaching u.h.f.-type fittings to the cable. Combing the shield braid wires down the outside of the reducing adapter and then screwing the adapter into the body of the fitting raises a question as to how well the fine wires have behaved themselves inside. In the conventional soldering operation, it is nearly impossible to keep the whole assembly from reaching a high temperature and subjecting the small core of insulation around the inner conductor to damage. One often feels the urge to give his handiwork an X-ray examination to learn just what has cooked.
The following procedure is offered as an alternative: Lightly apply a ring of solder to the forward rim of the reducing sleeve. Insert your coax cable through the sleeve and remove the desired amount of insulation (normally 21/32 inch). Disregard the insulation around the inner conductor for the moment. With a large straight pin or other pointed object, comb apart the fine wires of the braid and draw the wires straight out like the petals of a flower. Now solder the wires to the forward rim of the reducing sleeve. Very little heat is required to do this because there is only a small amount of metal involved. Trim back the wires and any superfluous solder flush with the bushing and give the job a final touching up with a fine file. Next, strip ½ inch of the insulation from the inner conductor and tin the conductor. The adapter sleeve with the securely attached coax cable is now ready to screw into position within the body of the fitting. Give the assembly an extra twist with pliers to assure good contact between body and adapter. Complete the assembly by soldering the center conductor.
The author believes you will find this procedure actually faster than the usual one, as well as providing more positive results, and you can apply the cost of that X-ray machine toward a new kilowatt!
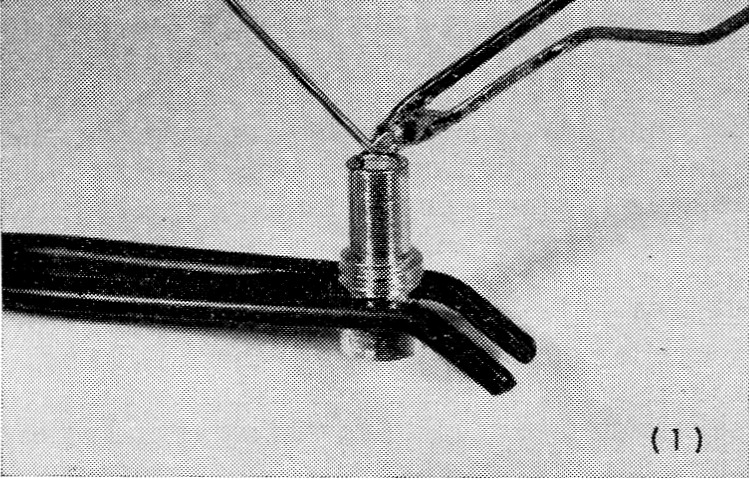
(1) Apply solder to the adapter.
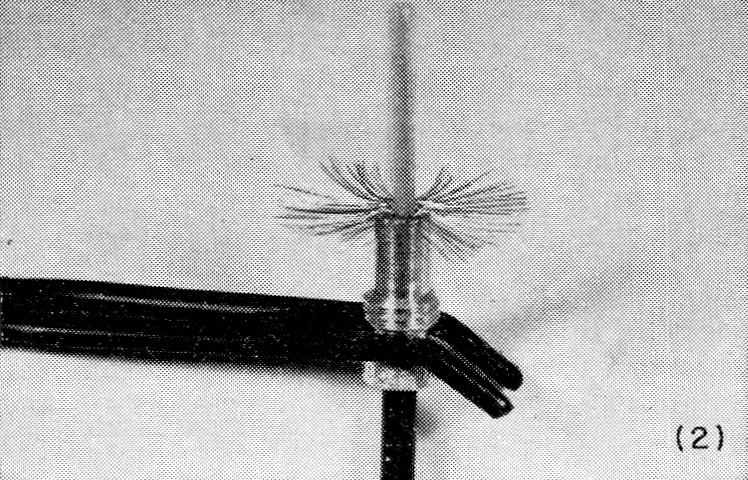
(2) Remove insulation and fan out the braid wires.
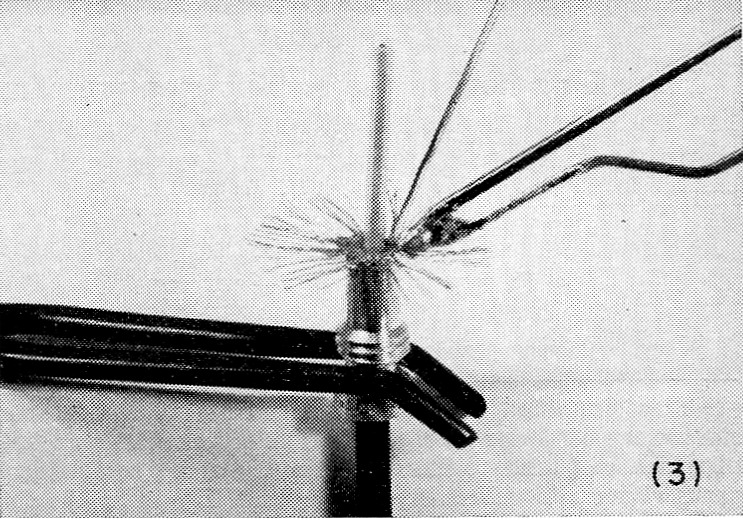
(3) Solder the braid to the adapter.
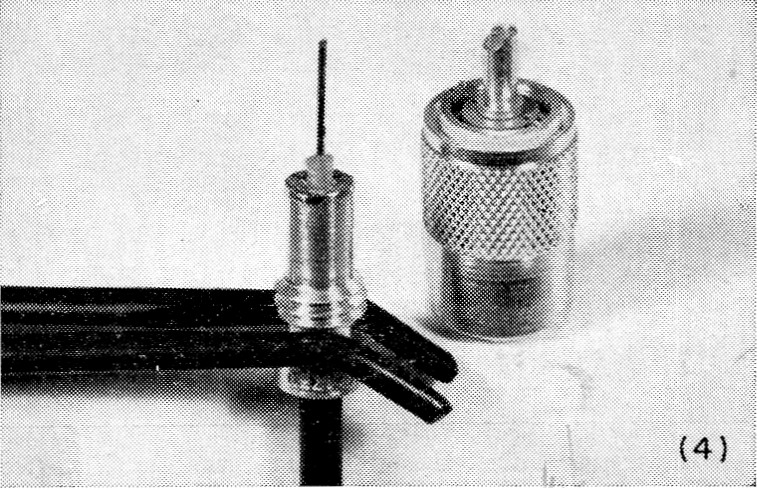
(4) Trim braid back, bare the inner conductor, screw on the plug and solder the inner conductor.
John Howard, KBMME.